I benched 285 pounds when I was 17. Then I spent the next ten years not really allowed to train my bench.
I know how that sounds. Let me explain.
I went to college to be a sprinter. On the track, extra muscle up top is just weight you have to carry down the runway. And my body puts on muscle fast, faster than most guys I ran with. So my upper body training got capped. I could squat and pull and hammer my legs as hard as I wanted. But my chest and arms? About once a week, and light. That was the deal.
Then I turned pro and trained with ALTIS, next to sprinters like Aries Merritt, Andre De Grasse, and Fred Kerley. World class speed. And up top we did almost nothing with a barbell. A few weeks of dumbbell bench early in the season, then months of push-ups and bodyweight work. That was it.
Here is the strange part. The whole time, I was coaching other people to build big benches. I knew the methods cold. I just could not use them on my own body. Not until I stopped sprinting at 27.
When I finally came back to the bench at 30, I started at 275. A few months later I hit 325 for 3 reps. Today I press 365 for 2. That is a little over twice my bodyweight at 190 pounds.
I did not do that with more muscle. I still carry less upper body muscle than most guys in the gym. I did it by pressing smart. And the biggest, fastest win of all came from the one thing almost every lifter skips.
The setup. Your bench is won or lost before the bar ever moves.
Most guys walk up, lie down, and press. The setup takes them about one second. They think the setup is just getting comfortable. It is not. The setup is where you turn your body into one stiff, connected spring. It is where you make your strong muscles do the work and shut the weak ones out. And it is where you can find 10 to 20 pounds today, with no new training at all.
I am going to walk you through the whole thing. Eight steps, about eight seconds. Do them in the same order every single rep and your bench goes up on its own.
Step 1. Set Your Eyes Under the Bar
Before you touch the bar, lie back so your eyes are right under it, or just behind it toward your forehead. This one is small but it matters. If you set up too far forward, you press the bar into the rack. Too far back and you drag it out over your face. Line your eyes up under the bar and the path out of the rack is short and clean.
Little thing, free pounds. Get it right and everything after it gets easier.
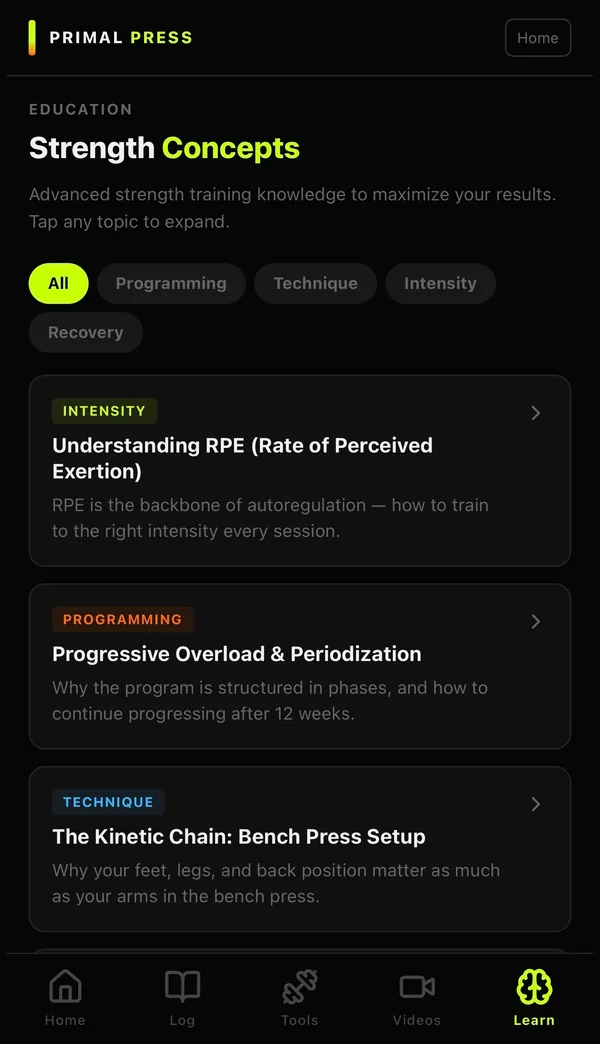
Want the whole setup coached rep by rep, plus the exact plan to break your current wall? That is what the app does.
Get the Primal Press ProtocolStep 2. Build the Shelf (This Is the Big One)
This is the step that changes the most benches, so slow down here.
Pull your shoulder blades together, like you are trying to pinch a pencil between them. Then pull them down toward your hips. Now your upper back is tight and flat against the bench. You just built a shelf.
Most guys press with loose, rounded shoulders. Their shoulder blades slide all over the bench. That does two bad things. It sends the load into the front of the shoulder, which is the weakest and easiest part to hurt. And it makes your base soft, so power leaks out instead of going into the bar.
When you pinch and pack that shelf, three good things happen at once. Your chest rides up higher, so the bar has less distance to travel. The load moves off your shoulder and onto your chest and triceps, which are far stronger. And your whole torso gets stiff, so nothing leaks. Same arms, same chest, more weight. That is the setup doing the work.
Step 3. Arch Your Chest Up
Now push your chest up toward the bar. Not your low back, your upper back and chest. Think proud chest, ribs up.
People get scared of the word arch because they picture a huge, painful bend in the low back. That is not what this is. A normal, controlled arch through your upper back is safe, and it is how your shoulder is built to press. The arch does the same job as the shelf. It raises your chest, so the bar meets your body sooner and travels less far. Every inch you take off the bar path is an inch you do not have to fight.
If a big arch bothers your back, keep it small. Even a little chest lift helps. The point is up, not extreme.
Step 4. Plant Your Feet and Squeeze the Floor
Here is where most guys leave the easiest pounds on the table. They let their feet just sit there. Dead weight.
Your legs are part of your bench. Pull your feet back a little toward your hips, keep them flat, and press them hard into the floor. When you squeeze the floor, that force runs up through your hips and locks your whole body tight. It is called leg drive, and it turns your bench from a loose arm exercise into one connected push from the floor to the bar.
Try it right now on your next warm-up. Press one set with lazy legs. Then press the same weight and drive your feet like you are trying to slide yourself up the bench. It will feel like a different lift. That is free strength you already own.
Step 5. Grip It Right and Stack Your Wrists
Your grip decides where the bar sits and how straight you can press. Two things to get right.
First, width. Too narrow and the bar has to travel a long way and your shoulders do too much work. Too wide and you flatten out, beat up your shoulders, and give up power. For most people, a grip a bit wider than shoulder width is the sweet spot. Your forearms should be close to straight up and down when the bar is on your chest.
Second, stack your wrists. The bar should sit low in your palm, near the base, with your wrist straight and stacked right over your elbow. Not bent back. A bent wrist bleeds power and it hurts over time. A stacked wrist sends your force in a straight line into the bar.
| Grip width | What you feel | What it costs you |
|---|---|---|
| Too narrow | All triceps, long grind, bar drifts | A longer bar path and a slow, weak lockout |
| Just right | Forearms straight up, chest and triceps share the load | Nothing. This is where you press the most |
| Too wide | Chest stretch, shoulders pinch, feels shaky | Sore shoulders and lost power off the chest |
Step 6. Take a Big Breath and Brace
Before you unrack, take a big breath down into your belly, not your chest. Then brace your gut like someone is about to poke you. Hold it.
That air and that brace turn your torso into a solid block. A solid block does not leak power. A soft one does. You hold the breath through the way down and the press, then breathe out at the top. Big, strong lifts are pressed on a held breath. This is not optional once the weight gets heavy.
Step 7. Pull the Bar Out, Do Not Lift It Out
When you take the bar off the rack, do not press it up and out and let your shelf fall apart. Pull it out. Think of dragging the bar toward your feet with your lats until it is over your shoulders. Keep every bit of tightness you just built.
A good handoff partner helps here. But even alone, pull the bar out flat and slow. If your setup falls apart in the first two seconds, none of the steps before it mattered. Guard your tightness like it is the lift itself, because it is.
Step 8. Now Press, Same Every Time
Now you press. Lower the bar with control to the same spot on your chest, keep your elbows tucked, and drive it back up in a straight line. Because you set up tight, the bar path is short, your strong muscles are lined up, and your base does not move.
The last secret is this. Do the exact same setup on every single rep. Same order, same feel, warm-ups and heavy sets alike. A setup only helps if it is automatic. When it is the same every time, your body stops thinking about it and just presses. That is when the weight starts jumping.
The 8-Second Setup on One Card
Screenshot this and keep it on your phone. Run it in this order before every set until you do not have to think about it.
The Primal Press Setup
About 8 seconds. Same order, every rep.
- Eyes under the bar. Line up so the path out of the rack is short.
- Build the shelf. Pinch your shoulder blades together, then pull them down.
- Arch your chest up. Proud chest, ribs up. Shorten the bar path.
- Plant and squeeze your feet. Flat, pulled back, driven into the floor.
- Grip and stack your wrists. A touch wider than shoulders, wrist straight over elbow.
- Big breath, brace your gut. Air into the belly, lock the block, hold it.
- Pull the bar out. Drag it over your shoulders without losing tightness.
- Press the same way every rep. Straight bar path, elbows tucked, same touch point.
Why This Worked for a Guy Who Could Not Add Muscle
Come back to my story for a second, because it is the whole point of this article.
For over ten years I was not allowed to build my upper body. As a sprinter, muscle up top was the enemy. So when I finally came back to the bench, I did not have a big new chest to lean on. I had to get everything out of the muscle I already had.
That is exactly what the setup does. It does not build muscle. It lets you use all of the muscle you have. It shortens the bar path so you fight the weight for less time. It lines up your strong muscles and shuts the weak ones out. It makes your body one stiff piece so nothing leaks. That is how a lean guy who never got to train his bench pressed his way to 365 for 2. Not more muscle. Less wasted force.
Here is the honest part though. The setup is step one. It hands most lifters a quick 10 or 20 pounds, and then that free win runs out. After that, you have to know the real thing that is capping you. Is it your setup? A weak spot in the lift? A program with no engine? Fatigue you stopped noticing? Guess wrong and you can spend three hard months fixing a problem you do not even have.
Figuring out that answer is the part almost nobody can do alone, and it is exactly why I built the Primal Press Protocol. It walks you through your setup, finds the real thing holding your bench down, and then hands you the 12-week plan to fix it. It is the same process I used on myself and on hundreds of stuck lifters, put into an app in your pocket.
Fix your setup this week. You will feel the difference on your very next session. Then let's go find what is really capping you.